How To Fix Windshield Chips – Fix Your Vehicle’s Window
A car driver will encounter windshield chips for sure and learning how to fix windshield chips is crucial. If you are lucky, the damage is small and you can fix this yourself. Otherwise, you will have to have your windshield replaced.
Windshield replacement cost is a burden, depending on what car brand you own. And the bad news is some insurance companies do not cover the chipped windshield. While repairing windshield chips yourself only costs you less than $20 to buy a chip repair kit.
What Chips You Can Fix Yourself
We all want to save money but in many cases, we can’t. The crack longer than 3″ or above quarter chip can’t be fixed by a repair kit. You will need to go to a mechanic.

For smaller chips or cracks you can fix them yourself. The chip repair kits recommended by experts contain certain chemicals that are useful in cleaning up the damage done by chipping. These chemicals are quite helpful in getting rid of all the harmful elements present on the chip and also help in restoring the original glass of your car.
Why Chip Repair Kit
The main advantages of opting for chip repair kits include saving time and money. On the other hand, the main disadvantage of repairing the chip on your own includes suffering from injuries.
Hence, before deciding to do the repair work on your own, it is recommended that you seek the help of qualified technicians to access the size of the chip. Once you opt for chip repair kits, you can save a considerable amount of money on repairing the windshield, which can help you cover the cost gap easily.
How to Choose a Repair Kit for Windshield Chip
When looking for a repair kit for a windshield chip, you should purchase a kit from reputed companies. It is also advisable to conduct a small research on repair kits in order to find out their advantages.
You can read various reviews and feedback posted by customers regarding various brands of repair kits available in the market. These reviews are mostly written by car enthusiasts and professionals. If you want to know how to fix windshield chips, then you should make use of such resources.
2 Types of Repair Kit for Windshield Chip
There are mainly two kinds of chip repair procedures available in the market. One is done using adhesive and the other is done using a glass patch. While using an adhesive repair kit, it is important to make sure that you are dealing with a reputed company. If you deal with an amateur company, chances are high that you may end up wasting your time and money.
While choosing repair kits, it is important to opt for those that come with adhesive. These repair kits will help you remove the chip easily and painlessly. Using glass patch kits, on the other hand, requires a lot of expertise.
Adhesive
An adhesive repair kit is suitable for small chips and crack. A kit includes a syringe and adhesive.
Glass Patch
Using glass patch repair kits is quite beneficial in situations when chipped glass is too big to be repaired using adhesive. Such repairing kits use high quality adhesive that is formulated specifically for use on glass. They are also made up of special glass-repelling resins that help to ensure that the adhesive does not stick to the glass.
How to Fix Windshield Chips Step by Step
How to fix windshield chips using a recommended repair kit is quite easy. Each kit has its own instructions. Make sure you read it thoroughly before proceeding. However, the processes are similar. Here are the steps to apply an adhesive kit:
Step 1: Wipe the chipped area
Use a microfiber cloth to clean off the chip. You can you rubbing alcohol or glass cleaner but remember not to spray directly on the chip.
If the weather is humid, you can use a hairdryer to dry the chip.
Step 2: Clean the chip with a pin
You need to make sure that there is no glass left in the chip. Use the hairdryer once more time.
Step 3: Put the seal on
As a part of the kit, you will find a seal with it. Peel off the seal and put it on the chip. Make sure the chip is in the middle. Then, peel off the other side.
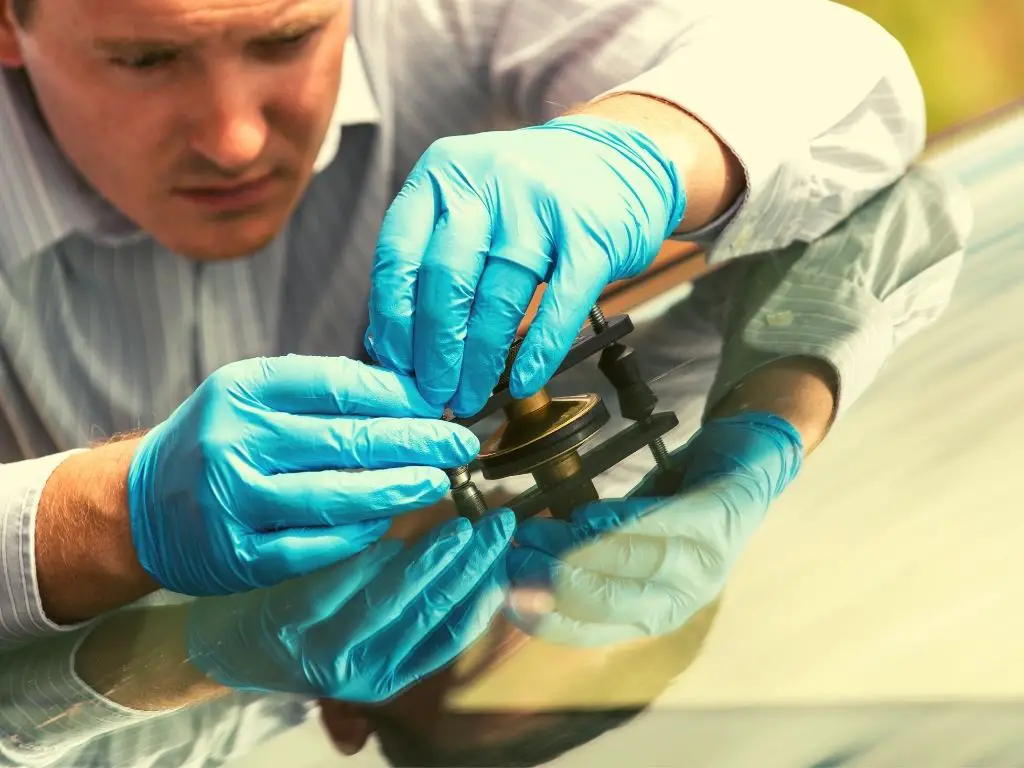
Step 4: Put the pedestal on
Put the pedestal on the seal, make sure that they are aligned. Now the chip is totally covered with the pedestal on top.
Step 5: Apply the resin
Cut off the resin and apply 3/4 of the resin
Step 6: Put the syringe on
Once you put the syringe on, pull it up all the way, then lock it off. Leave it there for about 10′ (as the instruction).
The syringe acts as a vacuum to extract all their air out of the chip.
Step 7: Pull the syringe out
This step is to let the air in
Step 8: Put the syringe back on
Now you push the syringe back and pull it down. Now the pressure will force the resin to fill in the chip. Let it sit for another 20′.
Step 9: Take the syringe out & peel off everything
You can use a razor blade to peel the pedestal and the seal off.
Step 10: Put a little resin on top of the chip then place the square on top
It’s perfect to be under the sunlight when you do this. Leave the square for 15′. However, if it’s a cloudy day, leave it longer, like an hour.
Step 11: Take the square off and use the razor blade to scrape the resin off. And DONE!
There are 2 things you should take into account: temperature and air bubble. Cold weather causes the resin to thickened and the air bubble is our enemy.
Conclusions
If you are looking for a cost-effective way to repair the windshield on your own, windshield repair kits are definitely your choice. These kits will provide you with everything that you need to undertake the repair work of your windshield including adhesive, the glass patch, the glass cutting blade and the screwdrivers. The directions are simple to follow, too.
source https://automotivegearz.com/how-to-fix-windshield-chips/


Comments
Post a Comment